DIY Fireplace Makeover
I mentioned in my living room makeover post that I made a few minor updates to our fireplace, but I wanted to write a quick post specifically on this subject for future reference. This was a very minor but impactful change, and it was an easy DIY that I tackled myself – I was pleasantly surprised at how well it turned out!
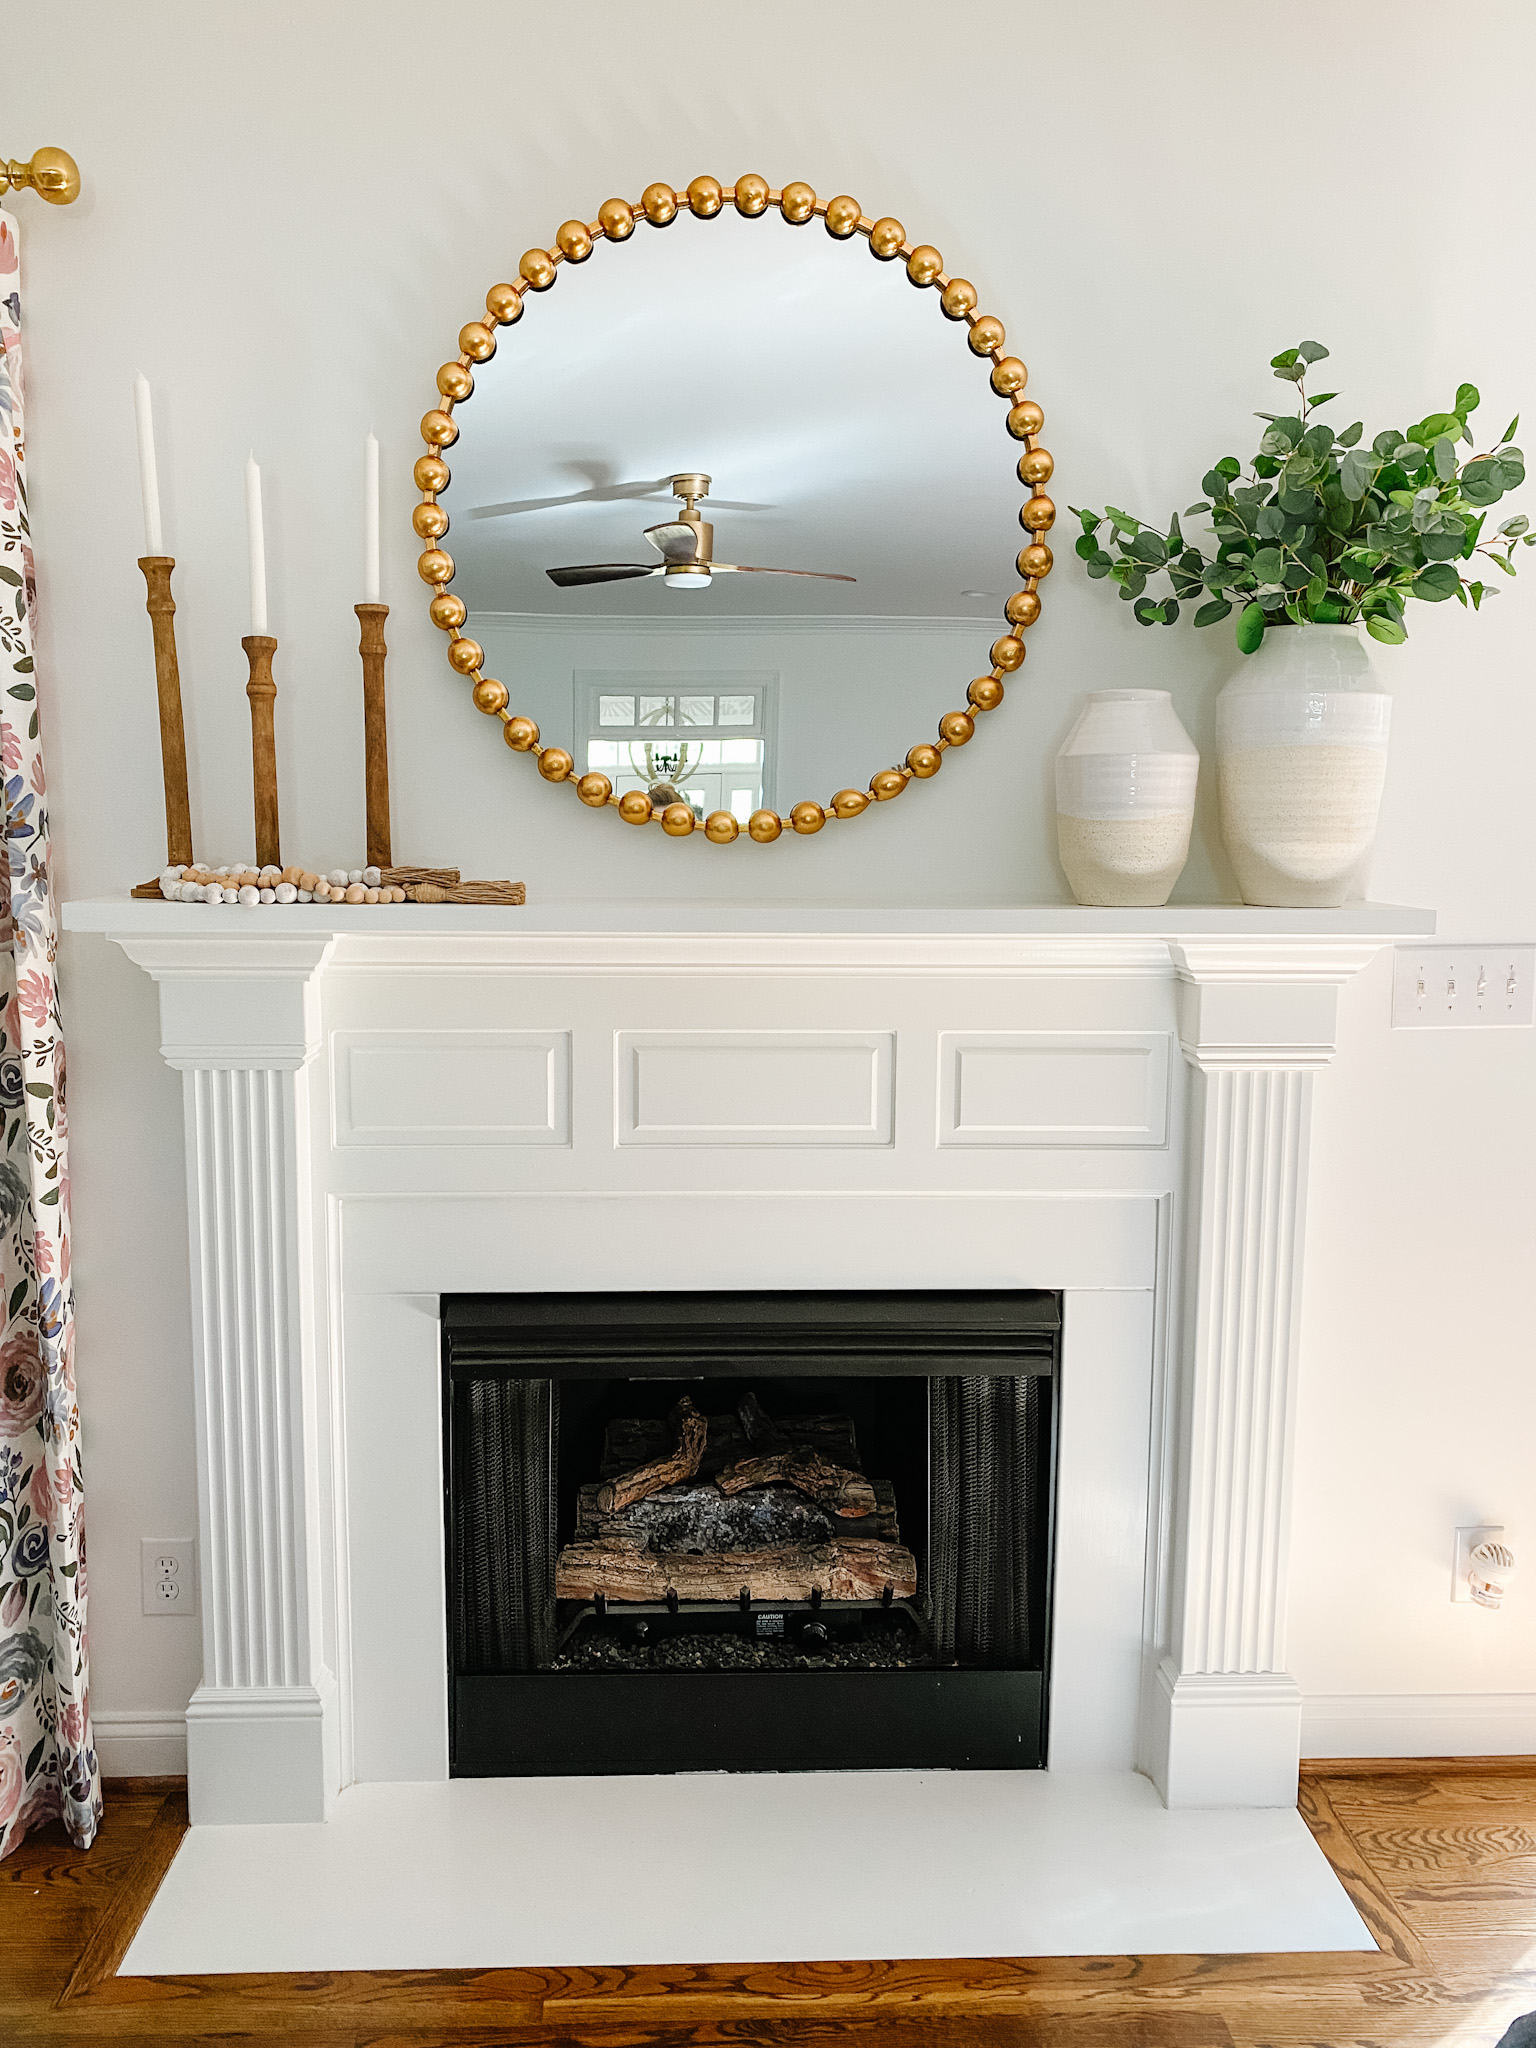
As you can see in the “before” photo below, there was a marble tile surround in a cream pattern. When we painted the walls white and put a fresh coat of paint on the mantle, that creamy tile stuck out like a sore thumb. The future of this fireplace is still TBD, so I thought I’d take the risk of trying to paint the surround – and if it didn’t work out, then it would have just fast-tracked a bigger project to redo this entire space (kinda glad that it worked out, haha!).

There are a lot of tutorials on Pinterest that cover how to paint your fireplace surround, so I went by those for the most part (can’t find the exact one I went by). Here are the steps I took:
- I first sanded the surround to roughen it up a bit
- I taped off the floor part of the surround to avoid getting paint on the hardwoods
- I applied one coat of primer (depending on how it covers, you could probably do two coats of primer)
- After the primer dried, I applied the first coat of paint, waited for it to dry, then I applied a second coat. I just used the paint that was leftover from having the trim painted. It was Pure White by Sherwin Williams in semi-gloss.
And that was it! Easy enough, right!? Here is another look at the finished product…there is nothing like a fresh coat of white paint to brighten up a space!

You can find the mirror here. The candle sticks were from Magnolia Home …my exact ones are no longer available but there are some similar ones on their website. The vases & greenery were a local find from the Carolina Pottery.
Let me know if you decide to tackle this project in your own home! Thanks for stopping by!


